Start by noticing where the light comes from
Before taking a photo, pause and look at your subject. Which side is brightest? Where do the shadows fall? Light coming from behind you can make a subject easy to see, while light from the side can reveal texture and shape. Light behind the subject may create a bright outline, but it can also leave a face too dark to see clearly. None of these directions is always best; each tells a slightly different story.
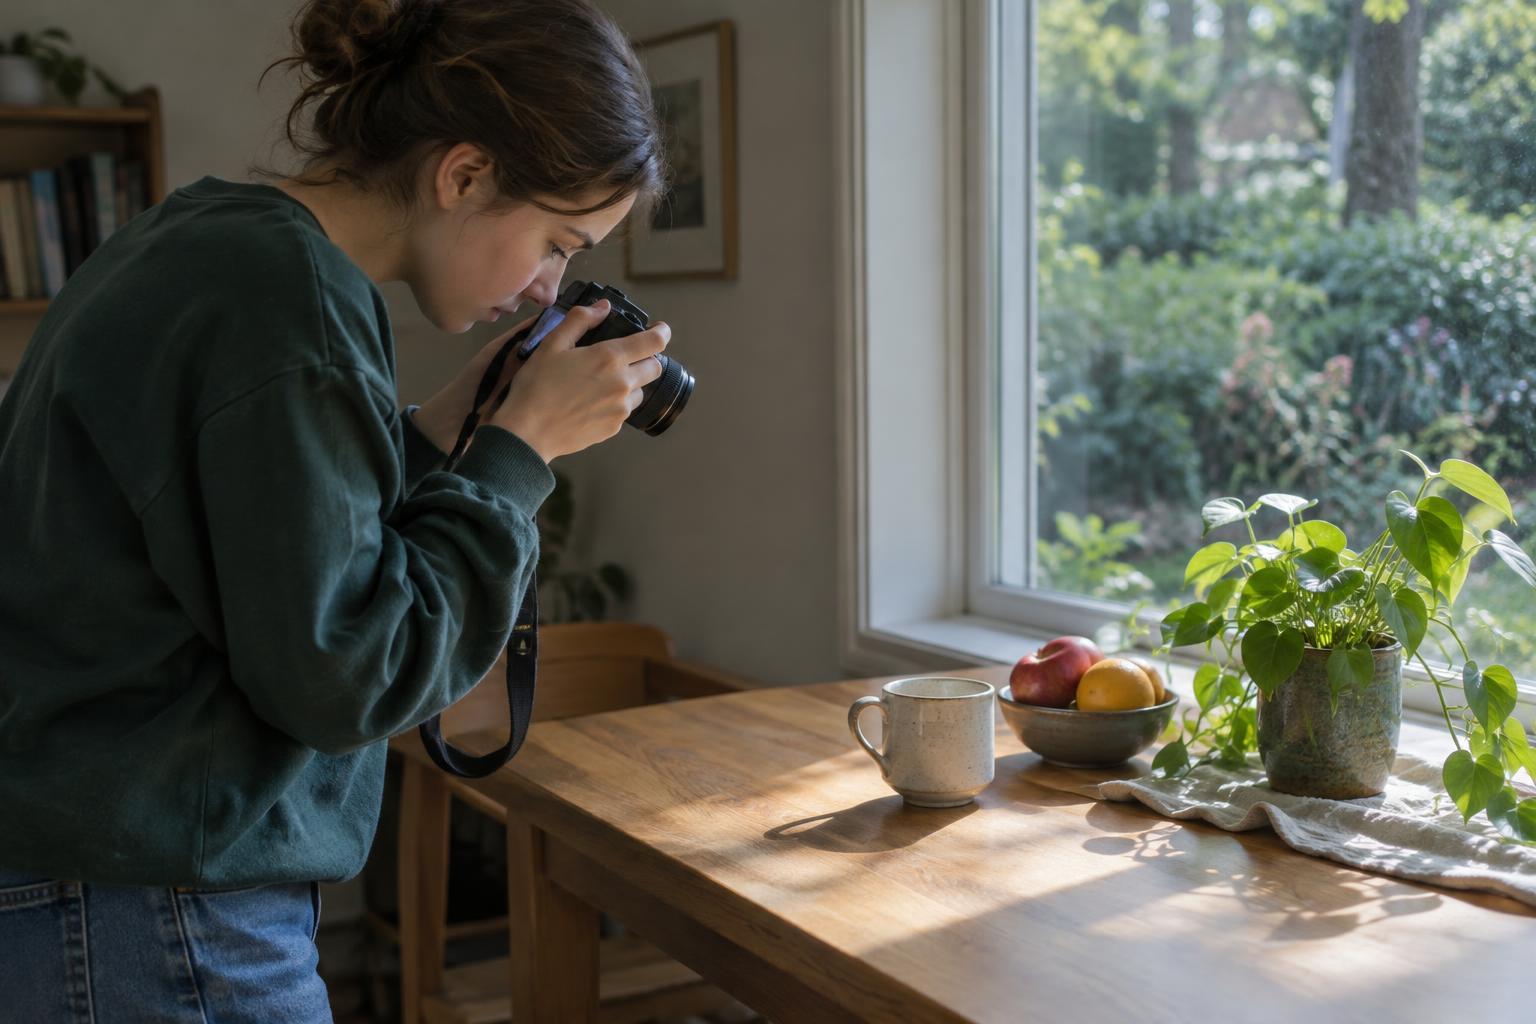
Try photographing the same object from several sides without changing anything else. A mug, plant or pair of shoes will do. Compare how the shadows affect its shape and mood. This small exercise helps you make a choice before you press the shutter, rather than hoping a filter will fix a photo afterward.
Use windows for gentle indoor light
A window can act like a large, simple light source. Place your subject a short distance from it and turn off nearby lamps if their different colors make the scene look uneven. For a portrait, ask the person to turn slightly toward the window. For an object, move it or move yourself until the highlights and shadows show the details you want. You can adjust the look without buying anything: moving closer to the window often makes the light more noticeable.
Pay attention to what is behind your subject, too. A bright window in the background may cause a phone camera to darken the person or object in front of it. Try standing beside the window instead of shooting toward it. If the photo still looks too bright or dark, tap your subject on the screen and adjust the exposure control, if your camera has one. Make a small change, then check the result.
Find shade when sunlight is harsh
Strong direct sunlight can create sharp shadows, especially under someone’s eyes or across a small object. Shade from a building, porch or tree often gives you more even light. Look for a spot where your subject is fully in shade rather than partly in sun: bright patches can pull attention away from what you meant to photograph. Keep an eye on the background as well, because a very bright area behind your subject may still affect the picture.
Harsh light is not a mistake, though. Its strong shapes can work well for photos of shadows on a wall, patterns on pavement or the texture of a fence. Decide whether you want to show details evenly or make the contrast part of your idea. That decision is more useful than following a rule that says one kind of light is always good and another is bad.
Watch how light changes during the day
Natural light does not stay the same. When the sun is low, it often makes longer shadows and can give a scene a warmer appearance. When it is high, shadows may look shorter and more defined. Clouds can soften the light across a whole outdoor scene. Even indoors, the view through a window can change as the sun moves or clouds pass. If a picture is not working, returning later may give you a different starting point.
You can practice without planning a photo trip. Choose a familiar place that you can photograph comfortably and safely, such as a desk near a window or a view from your home. Take a picture at a few different times, keeping the camera position similar. Compare which details stand out and how the mood changes. The goal is not to find a perfect hour; it is to learn what each kind of light lets you express.
Make the light serve your idea
Before your next photo, pick one thing you want a viewer to notice: a person’s expression, the shape of a leaf or the quiet feeling of an empty room. Then make one deliberate change. You might turn your subject, step into shade, wait for a cloud or move closer to a window. Take another photo and compare the two. Changing one thing at a time makes it easier to see what helped.
If you photograph other people, ask whether they are comfortable being photographed and respect their answer. You can build plenty of skill with objects, places and self-portraits, too. Natural light gives you many options, but it does not demand an elaborate setup. Curiosity, careful observation and a willingness to try again can do a lot for your photos.