Check the button before you start
A button that wobbles or hangs by one thread is easier to fix before it falls off and gets lost. Look at how it is attached: most buttons have two or four holes on the front, while others have a small loop, called a shank, on the back. Also check the fabric beneath it. If the fabric is torn rather than just loose, a few stitches may not be enough to hold the button securely.
Try to notice where the button originally sat. Other buttons on the garment can help you judge its position. If the button has already come off, place it over the old stitch marks and test whether it lines up with the buttonhole. Taking a moment to check its position now can save you from sewing it on twice.
Gather simple supplies
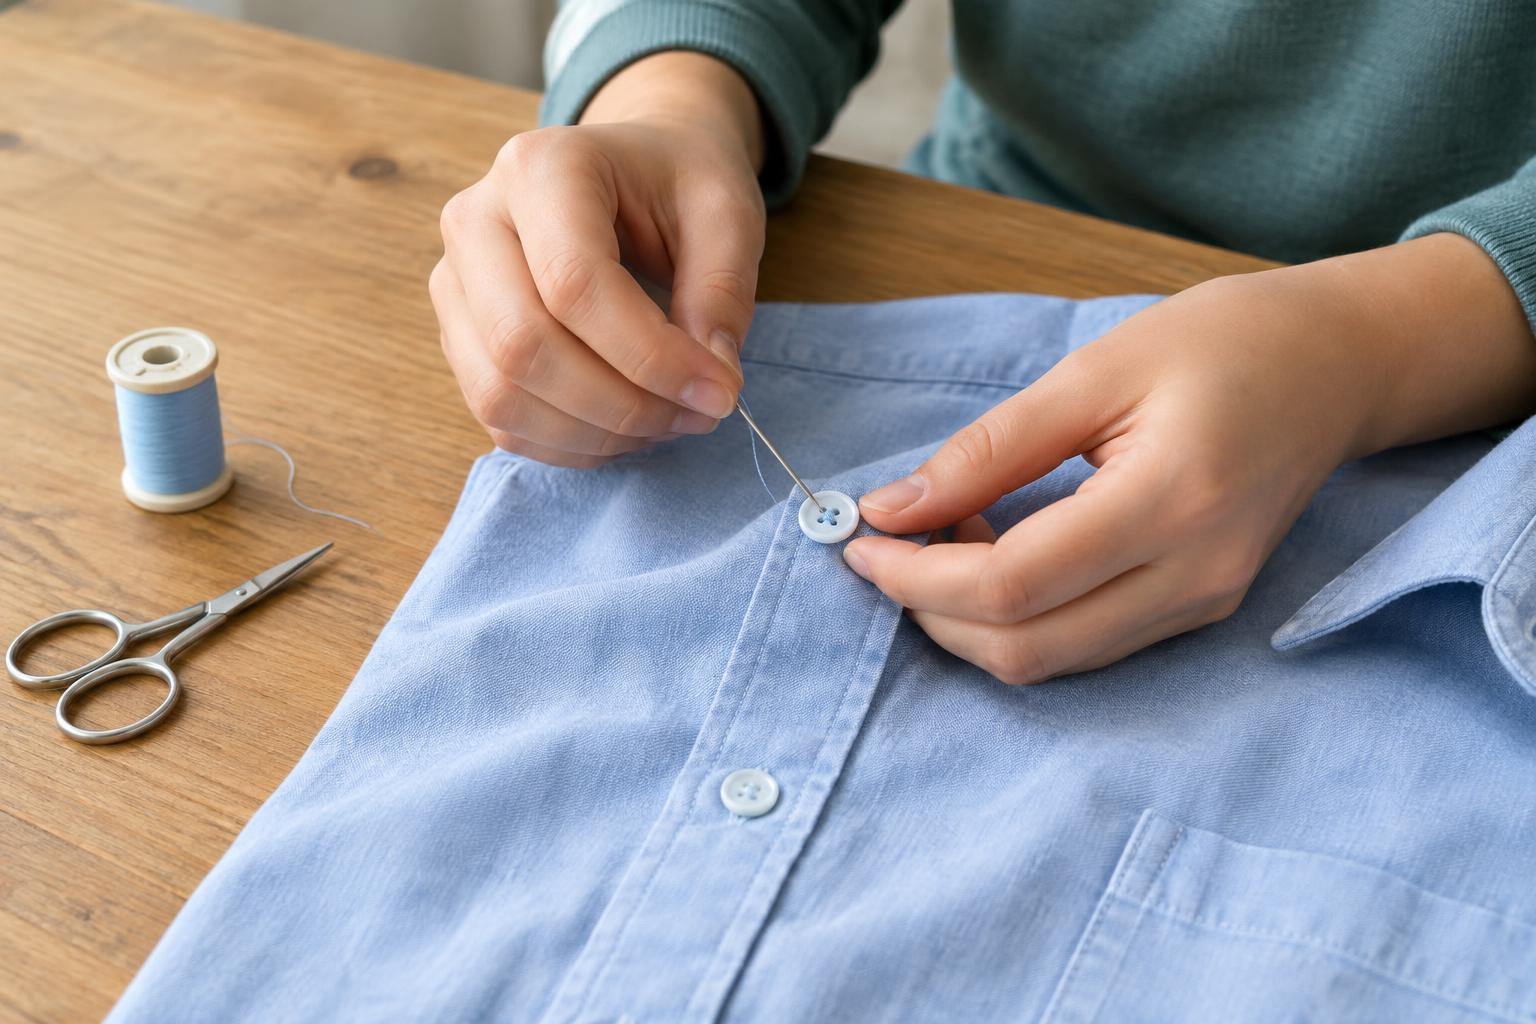
You will need the button, a hand-sewing needle, thread, scissors and the garment. Thread close to the garment’s color will usually blend in, but a different color can be useful while you are learning because it is easier to see. Choose a needle that passes through the button’s holes without forcing it. A thimble is optional if you find it uncomfortable to push the needle through thicker fabric.
Cut a length of thread about as long as your forearm. Thread it through the needle’s eye, bring the two ends together and tie a knot at the ends. A doubled thread gives each pass two strands and can make the repair quicker. If threading the needle is tricky, trim the thread end cleanly or ask someone to show you a needle threader.
Set the garment on a table rather than holding it against your body. Keep track of the needle whenever you set it down, and use scissors only when the fabric is clear of your fingers. A well-lit workspace makes the small holes and stitches much easier to see.
Attach a button with holes
From the inside of the garment, push the needle up through the fabric where the button belongs. Pull until the knot rests against the inside. Pass the needle through one hole of the button, then bring it down through another hole and the fabric. Repeat this path several times, keeping the button in place with your free hand. For a four-hole button, stitch through both pairs of holes. You can follow the pattern used on the other buttons, whether the stitches run side by side or cross in an X.
Avoid pulling every stitch as tight as possible. On a shirt or other thin garment, the button needs a little room for the buttonhole fabric to fit beneath it. If the button sits completely flat and puckers the cloth, ease the thread slightly before finishing. Some people place a toothpick under the button while stitching, then remove it to leave a small gap; you can also judge the space by eye.
Handle a button with a shank
A shank button has its own raised loop on the back, so you do not sew through holes on its face. Start with a knotted thread on the inside of the garment. Bring the needle through the fabric, pass it through the shank, and send it back through the fabric close to where it came up. Repeat several times, checking that the button faces the right direction and remains over the buttonhole.
Whether your button has holes or a shank, finish on the inside of the garment. Make a small stitch through the fabric without going all the way to the front, pass the needle through the resulting loop of thread, and pull gently to form a knot. Repeat for a second knot if needed, then trim the thread, leaving a short tail. Take care not to cut the new stitches.
Test the repair and know when to pause
Button and unbutton the garment once or twice. The button should feel secure, and the fabric should lie reasonably flat when fastened. If the buttonhole cannot slip over it easily, the stitches may be too tight or the button may be in the wrong place. It is okay to remove the thread and try again; small repairs often get neater with practice.
If the fabric around the button is fraying or has a hole, ask someone with more sewing experience to help you reinforce it before reattaching the button. Otherwise, the stitches may pull through the weakened area. Once you are done, put the needle away safely and save any spare matching buttons in a place you will remember. Knowing how to make this quick repair can help you keep a useful piece of clothing in rotation.