Look before you draw
Drawing from observation means looking at a real subject while you work, rather than relying only on what you remember it looks like. Try a shoe, mug, backpack, plant, or other object you can leave in one place for a while. Set it where you can see it clearly, then sit in a comfortable position. A pencil and any paper are enough to begin.
Before making a mark, spend a minute noticing the subject’s overall outline. Is it mostly tall, wide, or roughly equal in both directions? Where is its highest point? Which part extends farthest left or right? These questions help you see the object in front of you, rather than drawing a familiar symbol for it. A mug, for example, may have a handle that looks smaller or more compressed from your particular seat.
Build the big shapes first
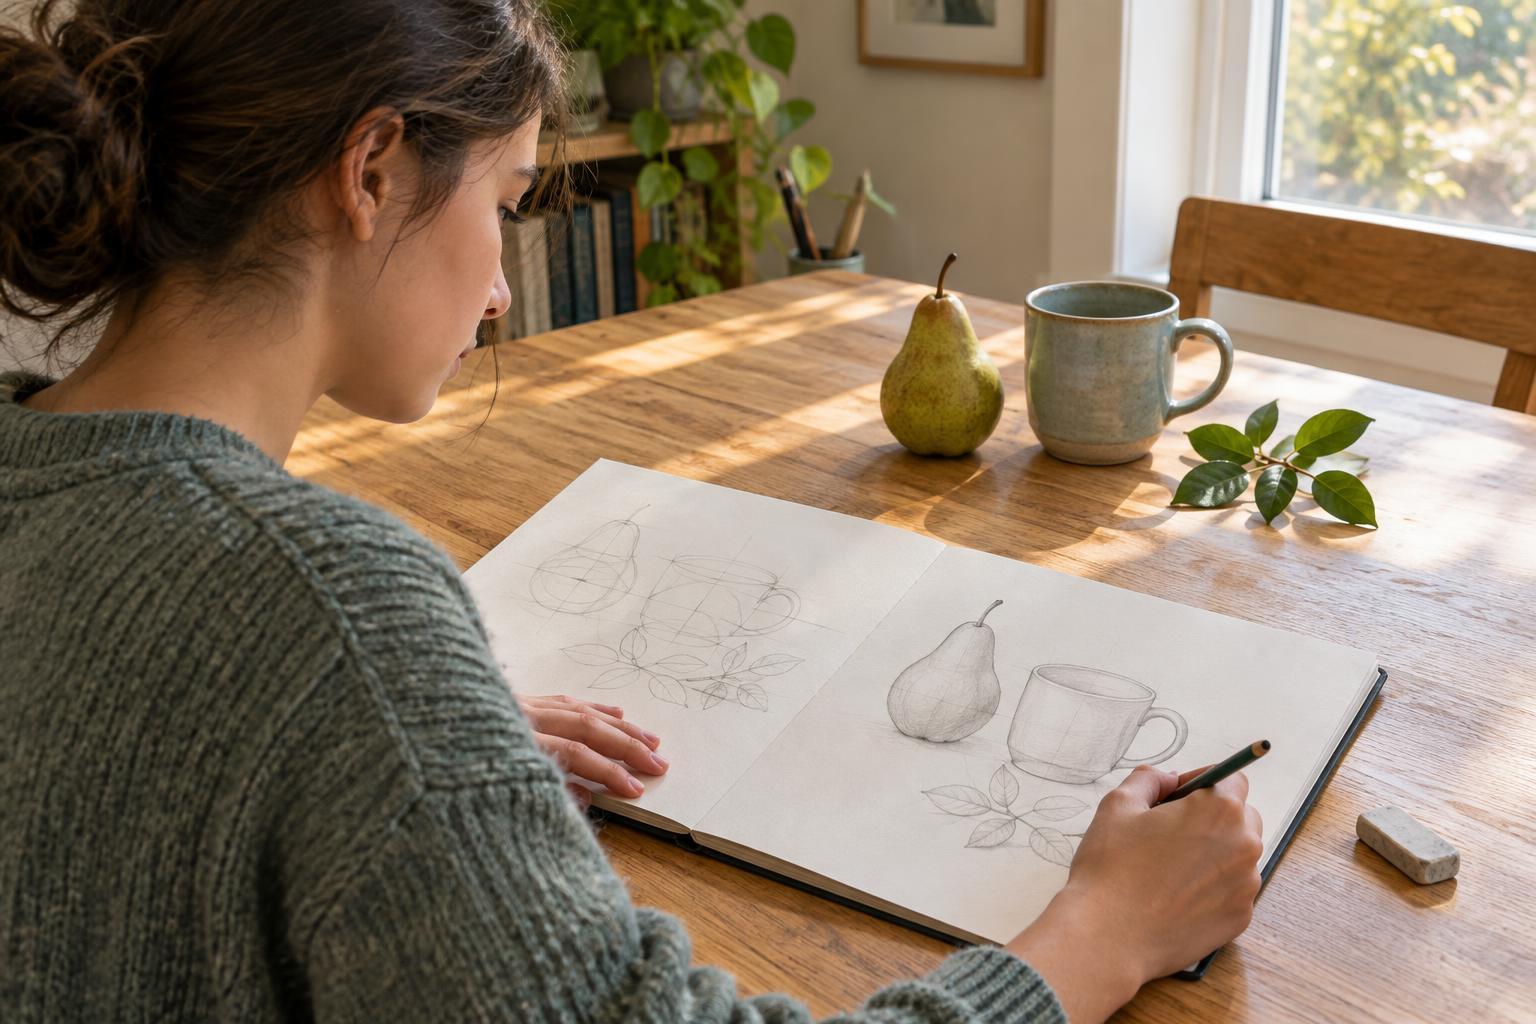
Begin with light lines that describe the space your subject takes up on the page. You might sketch a loose rectangle around a backpack or an oval around a rounded plant pot. Then divide the subject into a few large shapes. A mug might start as an oval for its opening, a tapered shape for its body, and a loop for its handle. These marks are a framework, not a final outline.
Keep your pencil pressure gentle so you can adjust the framework. Resist the urge to finish one tiny area before placing the rest. If you carefully draw the buckle on a backpack first, you may later find that there is not enough room for the bag itself. Working from large shapes toward small ones makes it easier to change your mind while the drawing is still flexible.
Compare proportions, not just sizes
Proportion is the relationship between parts. Instead of asking whether your drawing is the same size as the real object, ask whether its parts fit together in a similar way. Is the mug’s handle about as tall as the body, or noticeably shorter? Does the top of the shoe take up more space than the sole? You can draw an object larger or smaller than life while keeping its proportions believable.
Use one part as a reference for another. If a plant pot looks about half as tall as the leaves above it, mark that relationship lightly before adding individual leaves. You can also compare empty spaces: the gap inside a mug handle has a shape of its own. Looking at that gap may show you that the handle is too narrow, even when the handle’s outer line seems convincing.
Check your sketch as you go
Pause often and look back and forth between the subject and your page. Pick one question at a time: Is the widest part in the right place? Do two edges tilt in the same direction? Does one shape overlap another? If an answer is no, change the light sketch before adding detail. Erasing and redrawing are ordinary parts of observing, not signs that you have failed.
Try checking where key points line up. On a shoe, perhaps the back of the heel sits almost directly below the edge of the opening. On a plant, one leaf may reach farther right than the pot. You do not need special tools to notice these relationships. Taking a short break and returning with fresh eyes can also help you spot a shape you had started to draw from memory.
Add detail with a purpose
Once the big shapes and proportions feel close, choose a few details that explain the subject. The seam of a shoe, the rim of a pot, or the fold of a bag can make its form clearer. Notice where a line is strong and where an edge is hard to see. You can use darker marks to emphasize important edges and leave quieter areas lighter; you do not have to outline everything equally.
For practice, draw the same object twice from one position. Spend only a few minutes on the first drawing, concentrating on big shapes. Give the second drawing more time to check proportions and add selected details. Compare what you noticed in each attempt rather than deciding which one is “good.” Observation is a skill you build by looking, testing a mark, and looking again.